A Bridge Domain (BD) is a Layer 2 representation inside the ACI fabric. The BD is where users will define their Anycast Gateway/subnet which would provide
the
default gateway for their host attached to the fabric. A subnet under the BD can have multiple options:
Public : This means that ACI will automatically advertise this subnet outside the fabric. Users are not longer required to create route-maps or
distributing routes. ACI will automate this for you
Private: This means this subnet will stay within the Tenant. This is the default setting for subnets within a BD.
Shared: This means that the subnet can be shared with other VRF within the same Tenant. It is important to note if you enable this knob to users
different subnets.
In this section you will be creating two Bridge Domains called:
aci_p10_bd_web
aci_p10_bd_app
Step 1 - Navigate to Bridge Domains in the Tenants Tab under Networking
Navigate to Networking to create a Bridge Domain by clicking:
Click on Tenant
Expand Networking
Right-click on Bridge Domains
Click on Create Bridge Domains
Step 2 - Create WEB Bridge Domain (BD)
Name:
aci_p10_bd_web
VRF: aci_p10_vrf
Click Next
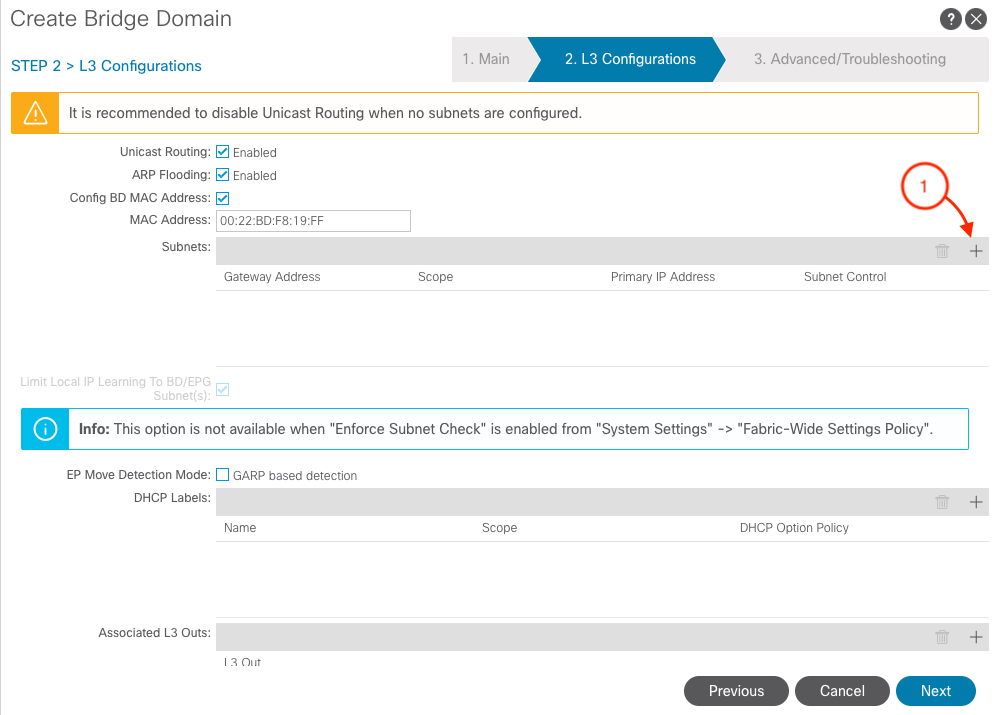
Step 3 - Create WEB Subnet
In this step, you will be creating the Gateway (Anycast Gateway).
Click the plus sign (+) button to add Subnet.
Step 4 - Add WEB Subnet
During this lab, the WEB subnet is where users will be connecting to from the outside of the fabric. Therefore
you need to modify this subnet from the default ACI values:
Gateway IP:
10.0.144.73/29
Check - Advertised Externally - You need to make sure to advertise this subnet to the rest of the network. By checking this knob, ACI
will do the back-end configuration for you.
Click OK
Step 5 - Associate L3 Out
In this step you will be associating the previously created External Network aci_p10_L3out to the
aci_p10_bd_web.
This is done in order for ACI to create the necessary policies between the External Network and the WEB Bridge Domain.
Click the plus sign (+) button to Associate L3 Outs.
L3Out: aci_p10_L3out
After selecting aci_p10_L3out, Click Update
Verify that you have the correct Gateway Address (10.0.144.73/29) and L3Out (aci_p10_L3out)
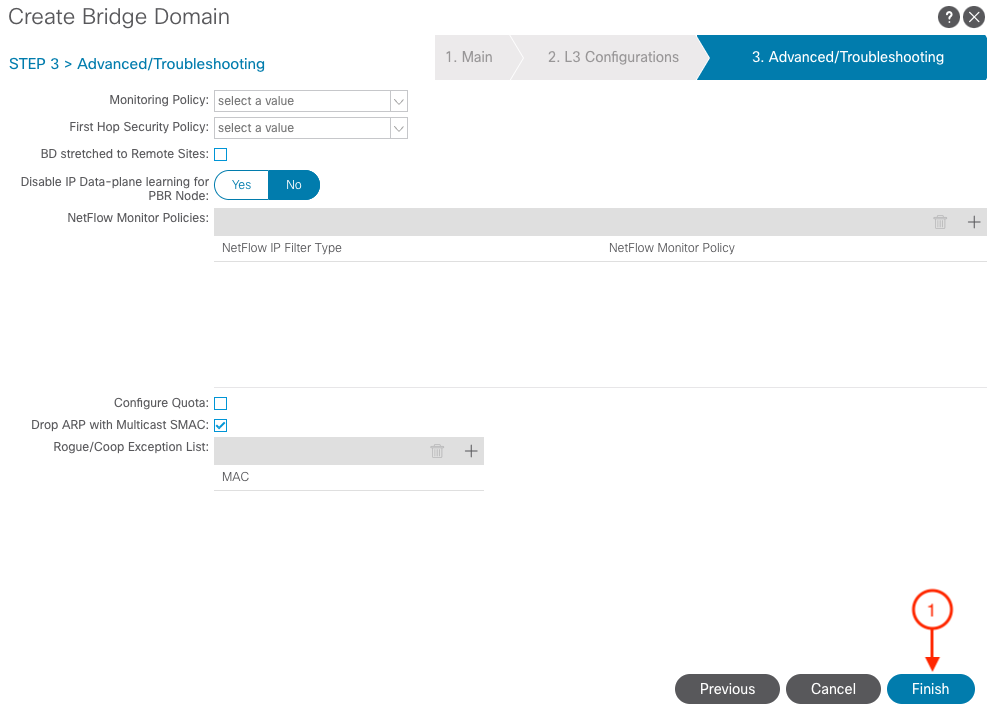
Click Next
Click Finish
ACI Object
This is the response from the fabric as to what is configured.
Step 6 - Create the second Bridge Domain
Navigate to Networking to create a Bridge Domain by clicking:
Click on Tenant
Expand Networking
Right-click on Bridge Domains
Click Create Bridge Domains
Step 7 - Create APP Bridge Domain
Name:
aci_p10_bd_app
VRF: aci_p10_vrf
Click Next
Step 8 - Create APP Subnet
In this step, you will be creating the Gateway (Anycast Gateway).
Click the plus sign (+) button to add Subnet.
Step 9 - Add APP Subnet
In contrast to the WEB subnet, the APP subnet will not be advertised outside the fabric. This is to showcase during this lab the
functionality of both options that users may be able to use. Therefore, users from the outside the ACI fabric will not be
able to reach the any host that it is in the APP subnet. This provides a level of security in your application.
Gateway IP:
172.16.1.1/24
Click OK
Click Next
Click Finish
Verify your work and then click continue
ACI Object
This is the response from the fabric as to what is configured.