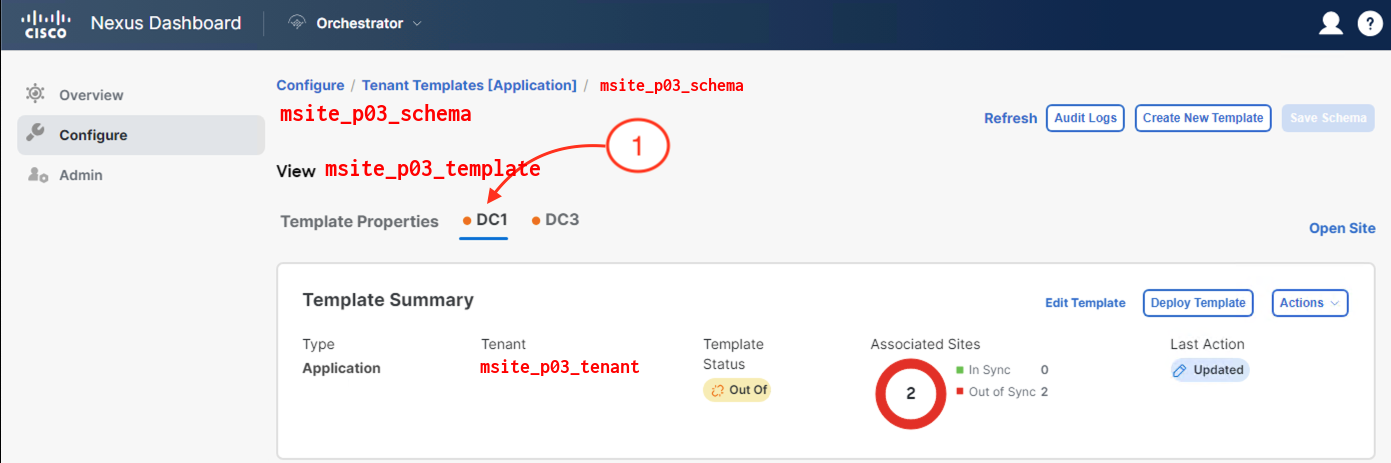
Step 1 - Add VMM Domains to DC1 Site in Schema Template
The template gets associated to each site after making your site selections. With this, you can now get more granular with applying
stretched policies across data centers (sites) with specific resources available in a given site, such as VMM domains.
-
Click on DC1
-
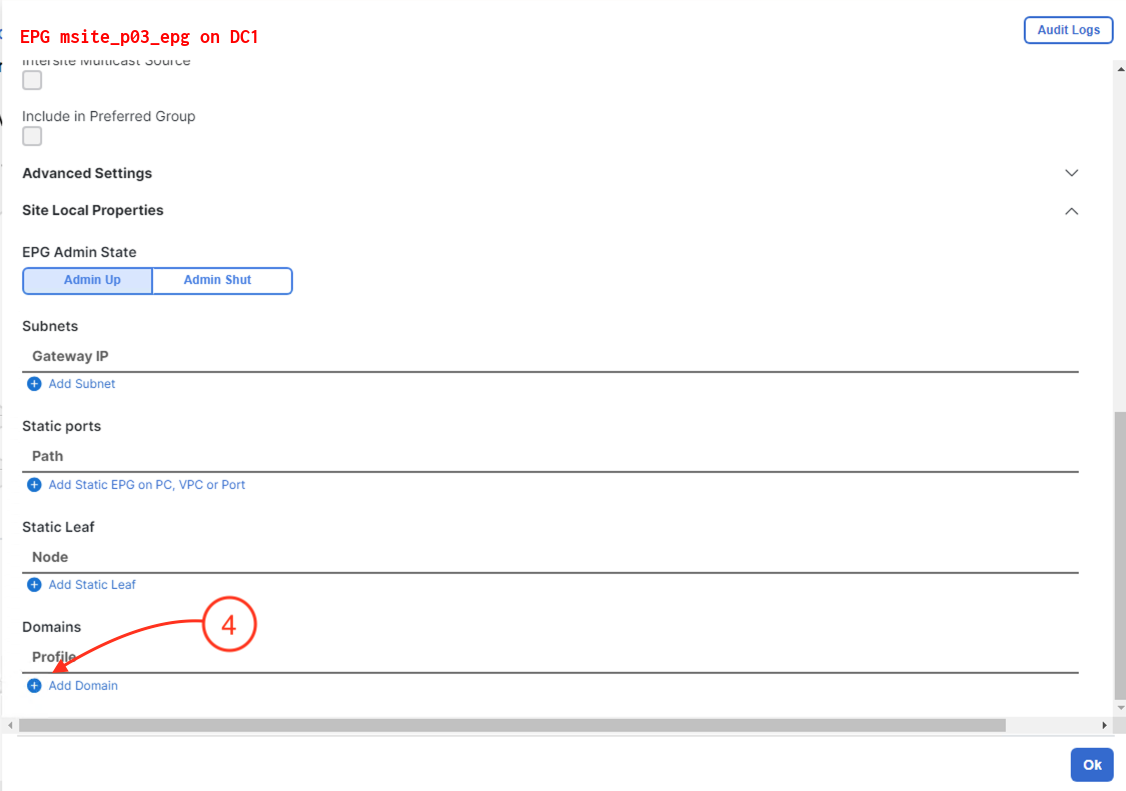
Click the EPG that was populated from the template version you created earlier: msite_p03_epg

-
The EPG properties will appearm scroll down.
-
Locate the Domains heading. Click + Add Domain
-
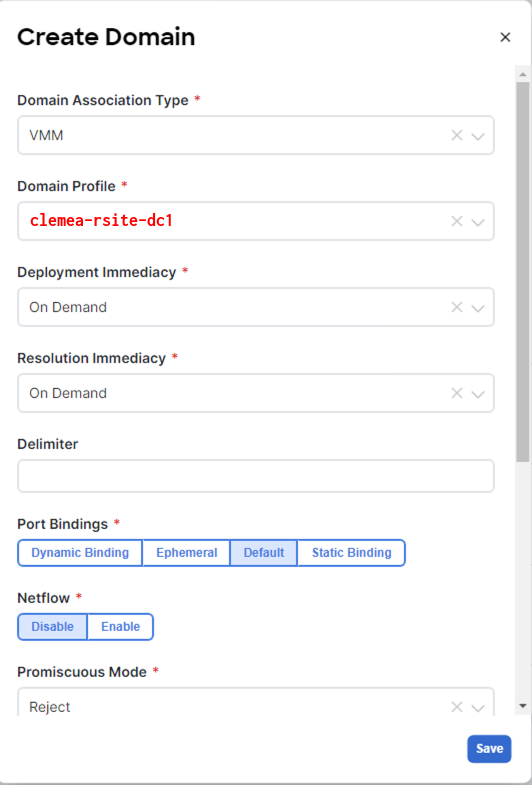
In the Domain Association Type, select VMM
-
In the Domain Profile, select clemea-rsite-dc1 (this is a VMM domain, like the one you created earlier, in the remote site (DC1) for this
lab)
-
In the Deployment Immediacy, select On Demand
-
In the Resolution Immediacy, select On Demand
-
Ensure the VLAN mode is set to Dynamic - This is under the Advanced Settings
-
Click on Save
-
Click on Ok
Step 2 - Add VMM Domains to DC3 Site in Schema Template
The template gets associated to each site after making your site selections. With this, you can now get more granular with applying
stretched policies across data centers (sites) with specific resources available in a given site, such as VMM domains.
-
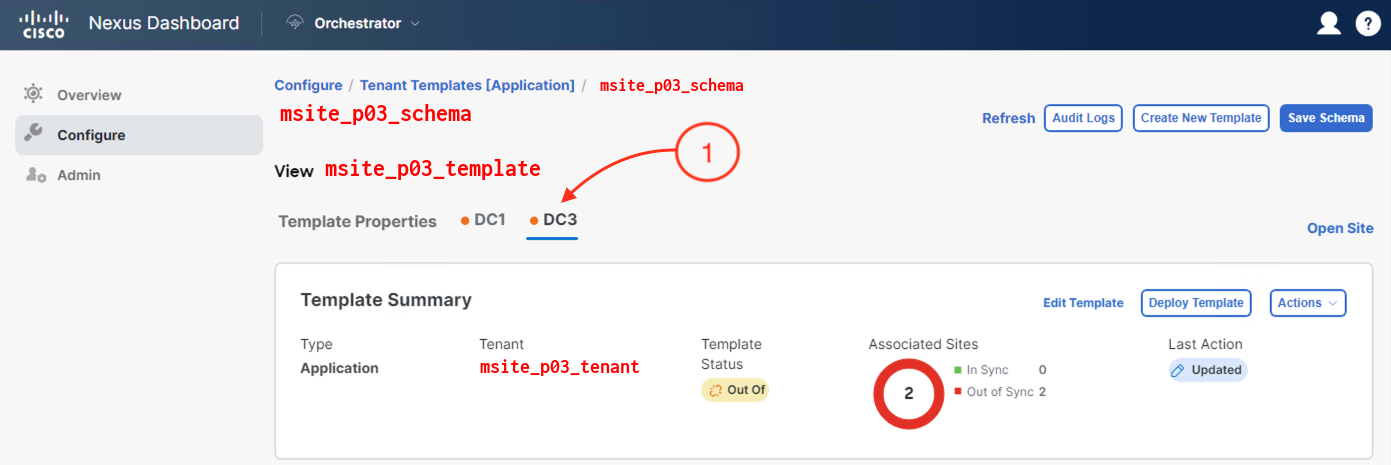
Click on DC3
-
Click the EPG that was populated from the template version you created earlier: msite_p03_epg
-
The EPG properties will appearm scroll down.
-
Locate the Domains heading. Click + Add Domain

-
In the Domain Association Type, select VMM
-
In the Domain Profile, select aci_p03_dc3_vds (this is a VMM domain, like the one you created earlier, in the remote site
(DC1) for this lab)
-
In the Deployment Immediacy, select On Demand
-
In the Resolution Immediacy, select On Demand
-
Ensure the VLAN mode is set to Dynamic - This is under the Advanced Settings
-
Click on Save

-
Click on Ok
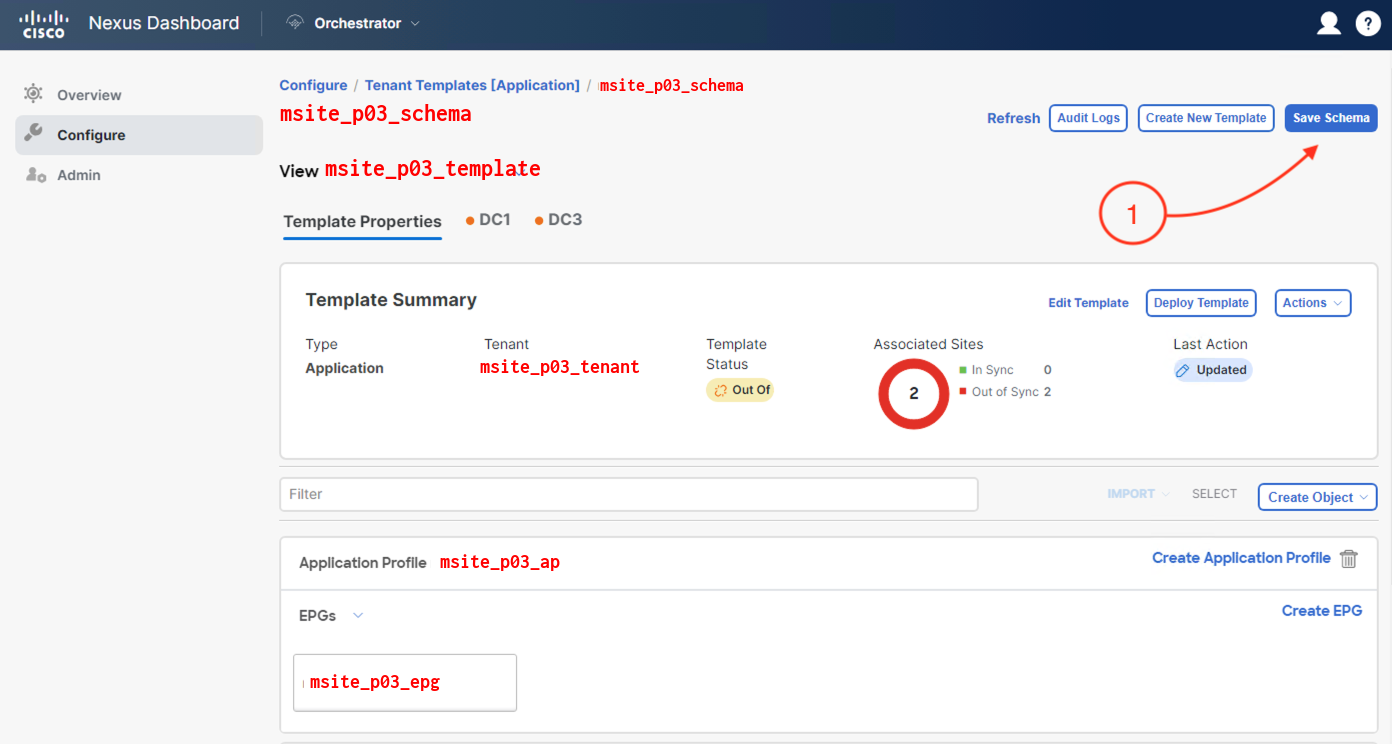
Step 3 - Save Schema
-
Click on Save Schema